

How To Repair And Paint A Nail Hole
Now that I finally shared the beans on our new home, I'm in total on MOVING Mode! Cue the hyperventilating, mile-long to-practise list, and chaos of trying to pack while however living in a tiny space. Eek.
Besides packing up boxes, nosotros too have a few maintenance issues to nourish to in our rental. And past maintenance I mean nosotros need to make our walls look smooth, fresh, and gallery wall free. Considering right now they're total of frames and art…

As I mentioned in my "How to Decorate a Rental" post I'm all nearly making holes in those walls to truly make a space your own. Don't exist afraid of nail holes my friends. Information technology's well worth it to create a cozy, personalized home and spend some extra time earlier motion-out fixing tiny nail holes.
How to Fix Nail Holes
Today I'm going to evidence to you only how to fix nails holes and brand them disappear!
Here's what you'll need…
DIY Supplies to Fix Smash Holes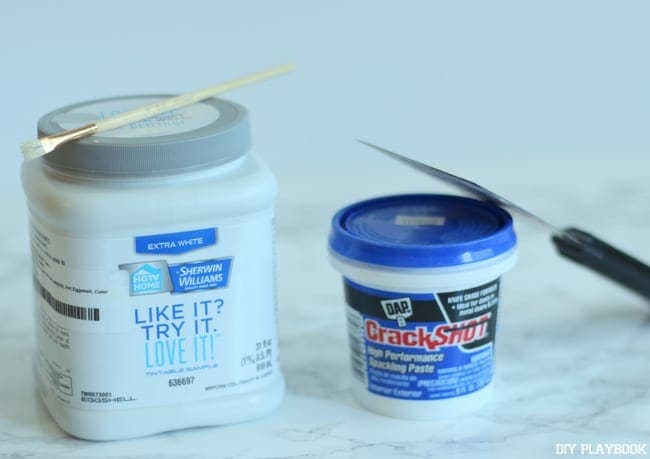
- Lightweight Spackle
- Putty Knife
- Paint
- Pocket-sized Paint Brush or Paper Towel
Steps to Fix Nail Holes
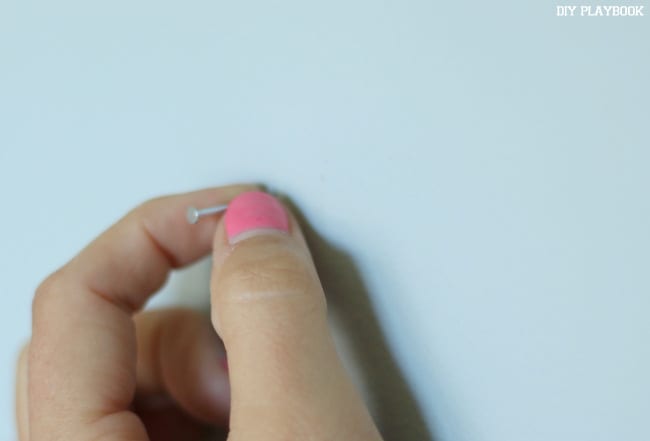 1. Accept down your wall art and remove the smash. You may be able to practice this with your fingers if not a hammer should work.
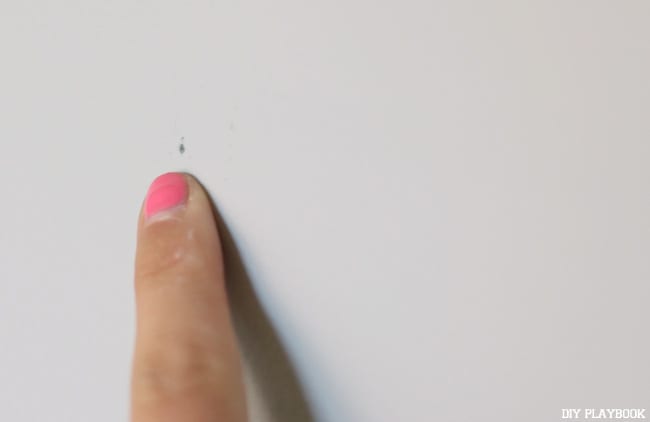
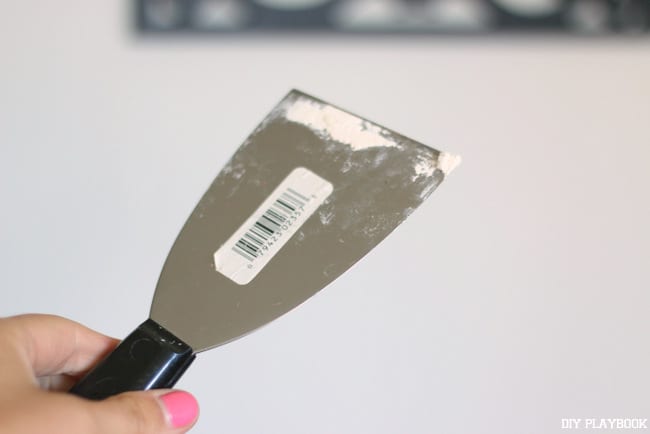
2. At present you're left with an itty bitty boom hole that needs to be filled. Instead of taking a ton of spackle and smothering it all over this tiny hole (like near people do) just have a very small amount and put it on the finish of your putty knife. You can even take some on your finger if you don't have a putty knife on manus.

3. Fill the hole with spackle. Again, don't coat the wall with tons of information technology. Instead, just attempt to fill the hole. Y'all tin then wipe abroad any excess with your finger or a newspaper towel.  4. Make sure your wall is smooth and the pigsty is filled all the way in with spackle. Permit your spackle dry for an hour or so. You tin merely get around your place and fill up all the nail holes and then by the time you come back effectually it should be good & dry out!
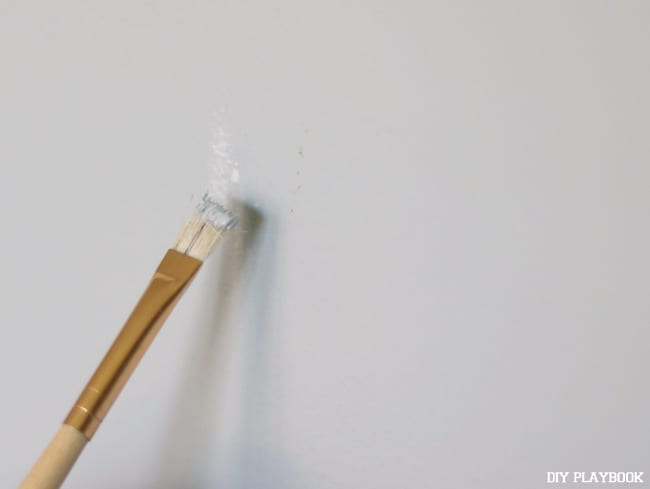
5. Now take a small-scale paint brush and dab information technology over the surface area. You can also put some paint on a newspaper towel and "feather" the paint out around the pigsty. That way it will blend into the wall a bit better.
half dozen. Let the paint dry and y'all should be good to get!
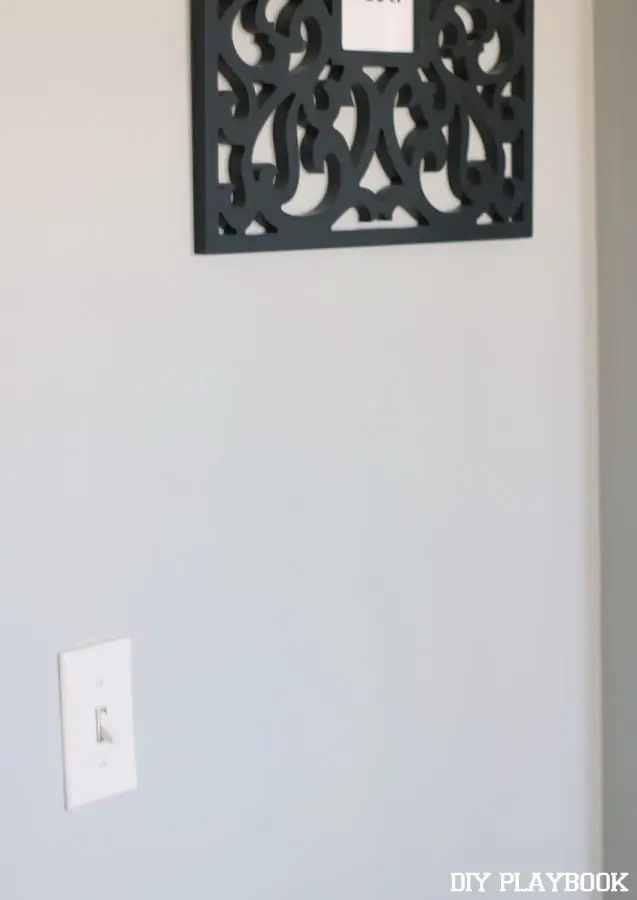
Can you see the smash holes? I certain hope non! Run across, that wasn't and so scary after all! Whether you're moving out or non, yous can easily prepare a few nail holes around your home yourself!
Casey
Have a bigger hole? Here'south how to patch a large hole in your wall.

Source: https://thediyplaybook.com/fix-nail-holes-wall/
Posted by: hullwilet1954.blogspot.com
0 Response to "How To Repair And Paint A Nail Hole"
Post a Comment